Setting up Your JavaScript Environment
Contents
Setting up Your JavaScript Environment#
Overview#
In this lecture, you will learn how to
get a JavaScript environment up and running
execute simple JavaScript commands
run a sample program
node.js#
We will start by installing node.js in your computer if not yet installed. Please note initially you will not need it but will work with it intensively as the tutorial builds on.
The following node.js is the site which one can find the downloads files which we would then use for installing node.
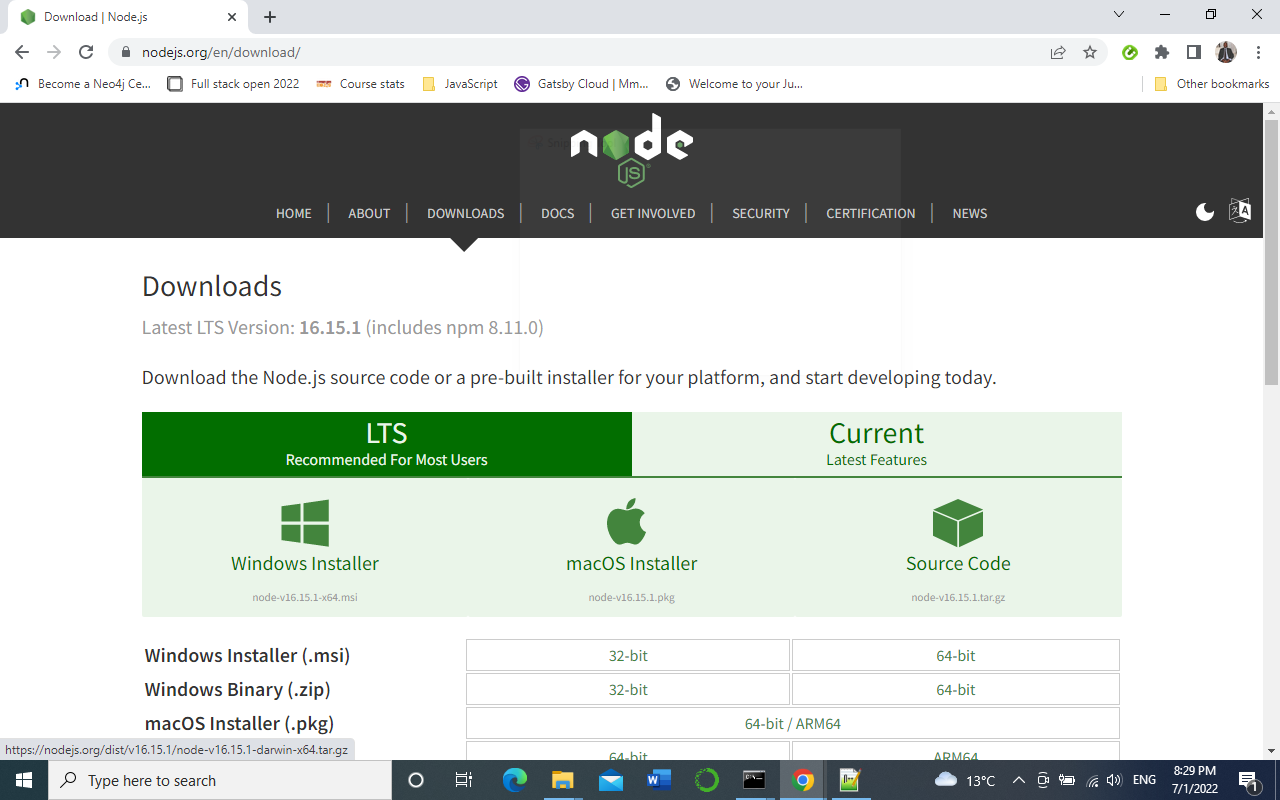
Fig. 2 A node.js download window viewed in the browser#
Note
All of what follows assumes that you adopt this recommendation!
Installing node#
To install node, download the binary and follow the instructions.
Important points:
Install the latest version!
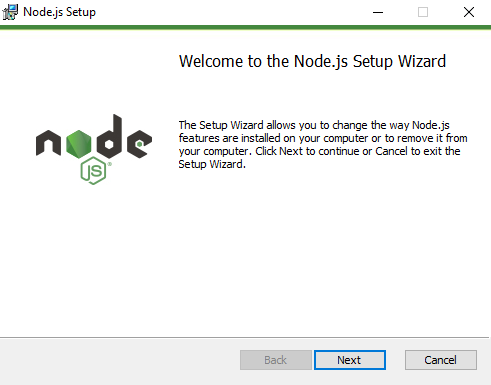
Fig. 3 You should be able to get something similar to the picture above when installing#
Checking Version & Updating node#
node supplies a tool called npm that can be used to
upgrade your node.
Note
npm consists mainly of two things. One, it is an online repository for the publishing of open-source Node. js projects; Lastly, it is a command-line utility for interacting with the said repository and aids in package installation, version management, and dependency management.
As a practice run, please execute the following
Open up a terminal
Type
node -v(to check the node version).Type
npm install npm@latest -g(This would have npm install the latest node as a package)
For more help on npm, type npm help in a terminal.
Browser#
Next you have to install a browser if you do not already have it on your computer. There are many types of browsers around but I strongly recommend that you download and use Google chrome; if you using a different type.
Installing Chrome#
To install chrome visit the following link - Google Chrome
Note
It is here where we will write small JavaScript code on the “browser console”, but we do not use the browser console to develop the applications themselves.
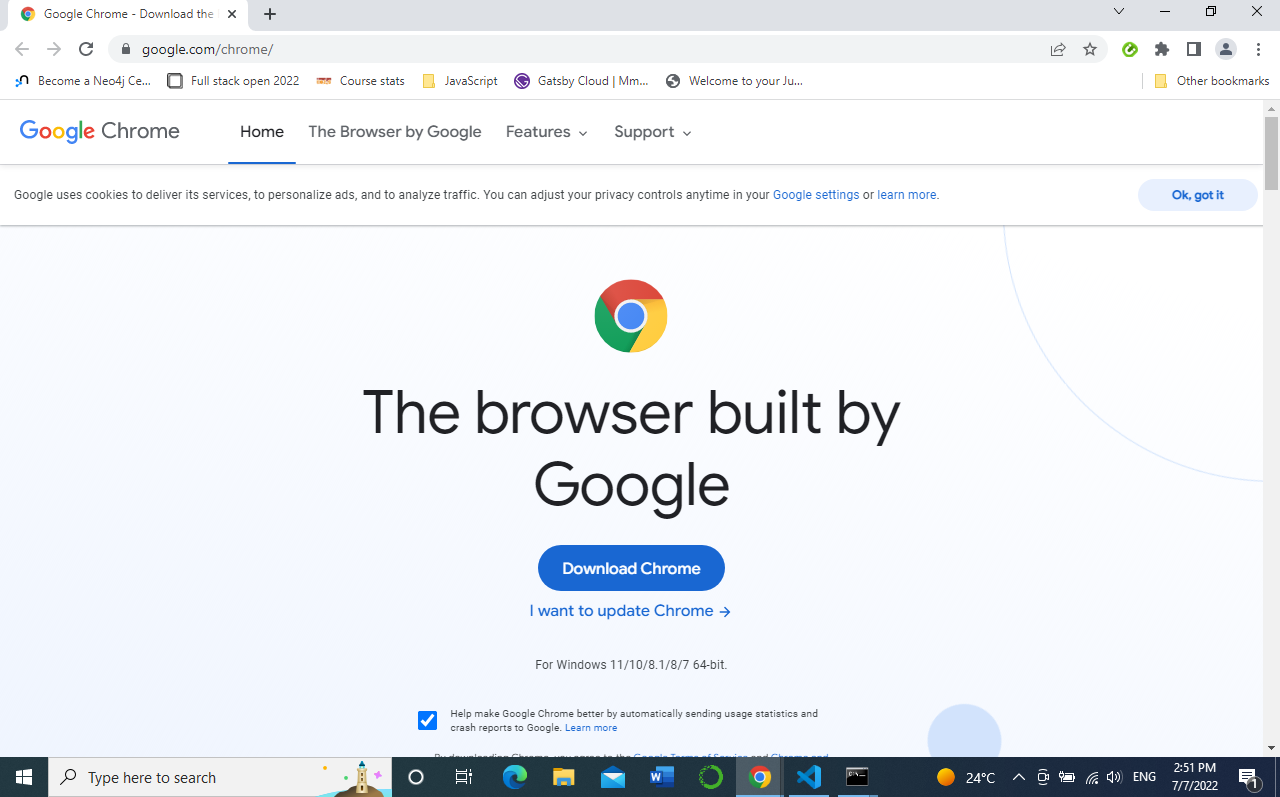
Fig. 4 You should be able to get something similar to the picture above when downloading and installing#
Starting Chrome#
Once you have installed Chrome, you can start it:
Either by
Search for Chrome in your applications menu, or
Click on the chrome menu either on start-up menu or desktop if using Windows
Hopefully, your browser will open up with a web page that looks something like this

Opening Google Chrome Console#
Once Chrome is open, you can open the console by:
Either by
Clicking the three dots at the top right corner of the browser,
selecting More tools -> Developer tools
using a keyboard shortcut(ctrl + shift + i or F12)when using windows.
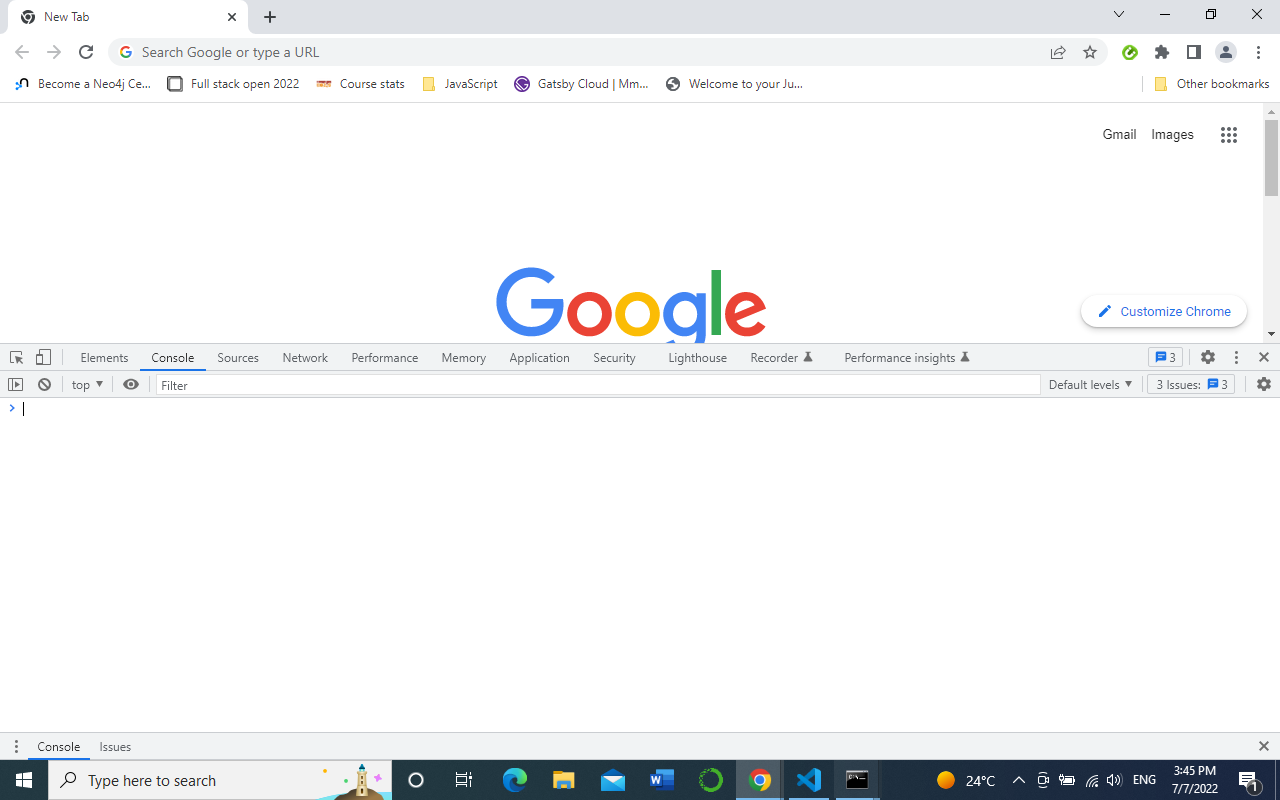
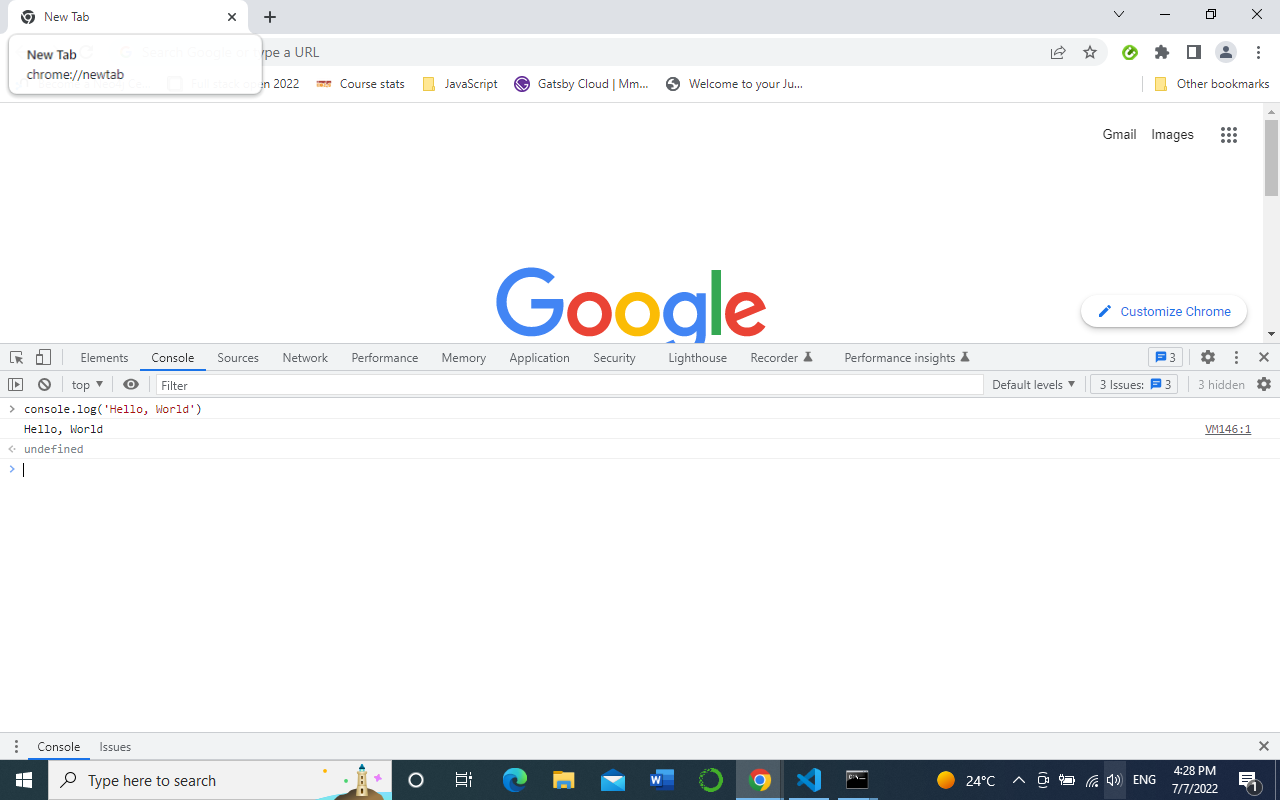
Fig. 5 You should get something similar to the picture above when the console is open.#
Next after opening the Google Chrome console, try to explore the different buttons. We will spend a considerable amount of time on the Console.
This is the place where your JavaScript code goes. The Google Console V8 engine changes your JavaScript code to machine code.
To get a grasp let us write code on the console:
Writing Code on Browser Console#
Next we will do a quick how to, edit code and run simple programs on Chrome.
Note
We can write any JavaScript code on the Google console or any browser console. However, for this challenge, we only focus on Google Chrome console. Open the console using:
Code Editor#
Console.log#
The console.log is a built in function in chrome that we will use to write our code. Let us start by passing an argument as input data.
The function will then display the given argument “Hello, World”.
console.log('Hello, World!')
Below is a screenshot of the console.log function in play.